

Posted on December 06 2019
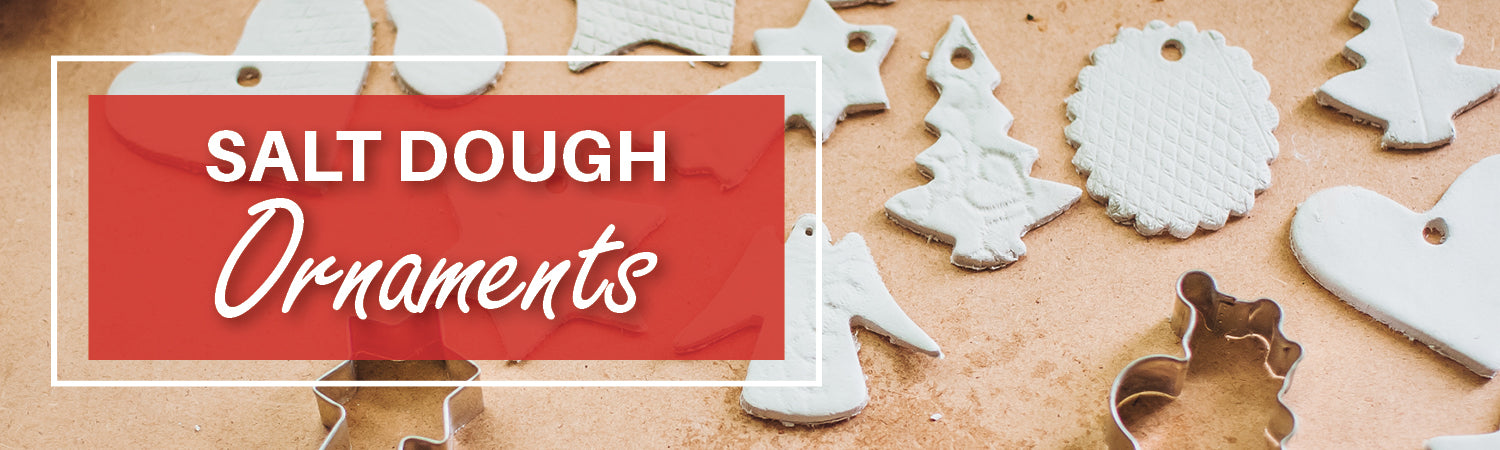
Salt dough ornaments are a great idea for an easy, personalized Christmas gift that won't break the bank. In fact, you likely already have all of the required ingredients in your kitchen (all-purpose flour, salt and water). An added bonus: no special materials or equipment are required. Just mix, cut, bake, decorate and hang.
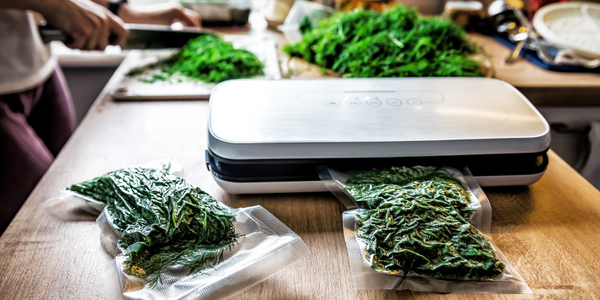
To begin, mix the flour, salt, and water together in a large bowl. Mix well, either with a whisk or a fork, and knead well for about 10 minutes. You can make extra dough to make more ornaments another day too...just vacuum seal it!
When you're done kneading, roll the dough out on a lightly floured surface, about ⅛ inch thick.
This is a good point in the process to preheat your oven to 300 degrees F. All ovens are different, so you may want to play with the temperature a bit if your first batch does not turn out as well as you'd like.
While the oven is preheating, cut the dough into shapes and make holes for hanging (don't forget this step). You can use cookie cutters, or you can try cutting them freehand. One fun activity you can try is tracing one of your child's hands or your own on the dough with a marker and then carefully cutting out the shape with sharp knife.
Place your ornaments on a baking sheet (either lightly greased, or on parchment paper), and bake in the oven for approximately 30-60 minutes, or until they are hard. Make sure to check on them often, and rotate the baking sheet once or twice to ensure that everything cooks evenly.
Once they have cooled, you can decorate with paint, glitter glue, or anything else you can think of. These ornaments are nice because you can decorate them as much as you want, or not at all, and they look great either way.
To make sure that your ornaments last, let the paint dry and then spray with a thin layer of clear polyurethane on both sides.
Finally, use string or ribbon to hang the ornaments on your tree or wrap them up as gifts for family, friends, neighbors, teachers, colleagues, the mailman and anyone else special in your life.
Recipe:
- 4 cups all-purpose flour
- 1 ½ cups warm water
- 1 cup salt
Helpful Tip:
Salt is a great preservative! If you left the salt out of the recipe above, and just mixed together the water and flour, you would end up creating the perfect conditions for mold to grow over time. So to preserve these precious ornaments for decades to come, don't forget to add the salt.
Related Posts

Embark on a Culinary Journey: Unleashing the Magic of Flavor Enhancers

Don't Throw It Out - Use It Up! 10 Clever Uses for the Food Lurking in Your Fridge
I remember making these in the 70s. It was lots of fun. The kid in everybody seemed to bloom.
The decorations were quite imaginative and really pretty. And yes, we hung them on the tree.