
Posted on May 07 2025

Meal prep: it’s the holy grail of saving time, eating healthier, and reducing stress during the week. But anyone who’s tried it knows the challenges—wilted veggies, freezer-burned meals, or forgotten containers in the back of the fridge. That’s where vacuum sealing changes the game.
Whether you’re prepping lunches for work, dinners for a busy family, or building a freezer stash, vacuum sealing keeps food fresh longer, reduces waste, and keeps everything organized. Here's how to use it to take your meal prep to the next level.
💡 Why Vacuum Sealing Is Perfect for Meal Prep
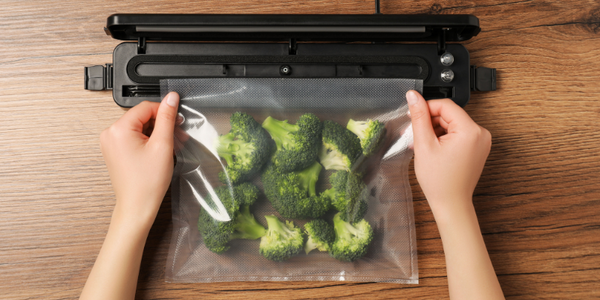
Before we dive into the how-to, let’s talk about the why. Vacuum sealing removes air from the storage bag or container, which dramatically slows spoilage, prevents freezer burn, and keeps flavors locked in.
Benefits:
- Keeps food fresh up to 5x longer than traditional containers.
- Saves fridge and freezer space by compressing contents.
- Reduces waste—no more tossing limp salads or dried-out leftovers.
- Makes grab-and-go meals truly grab-and-go.
🥗 Step 1: Plan Your Menu with Sealing in Mind
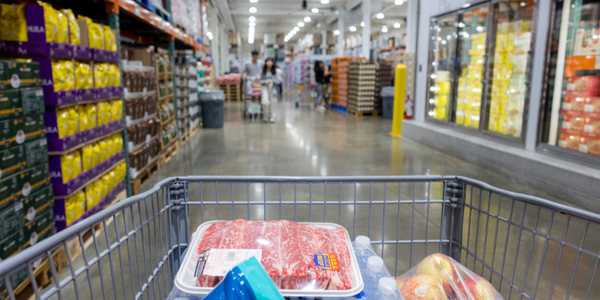
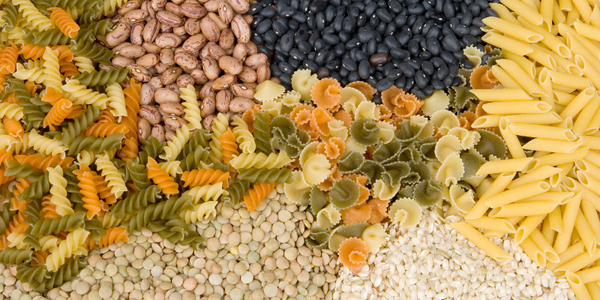
Start with meals that store well: soups, stews, marinated proteins, roasted veggies, rice, or pasta dishes. Cook in bulk, then portion it all out before sealing.
Tip: Think in terms of components. Vacuum seal a batch of grilled chicken, some quinoa, and a few different veggies. Mix and match throughout the week to avoid meal fatigue.
📦 Step 2: Portion Like a Pro
Vacuum sealing works best when you portion your meals before storing. This helps with:
- Controlling portion sizes
- Avoiding waste (you only open what you need)
- Speeding up grab-and-go meals
Use pre-cut vacuum seal bags or cut your own from rolls to fit the portion size exactly. Quart-size bags are ideal for individual servings; larger bags or rolls work for family meals or bulk ingredients.
🏷️ Step 3: Label Everything
Once sealed, food all starts to look the same—especially frozen meals. Always label your bags with:
- Meal name
- Date sealed
- Quantity
- Cooking/reheating instructions (optional but helpful)
Use a permanent marker or, better yet, freezer-safe labels that won’t smudge or fall off.
❄️ Step 4: Store Smartly
Where you store your meals matters:
- Refrigerate: Meals you'll eat within 3–5 days
- Freeze: Meals for next week (or the next month!)
Vacuum sealing helps you avoid dreaded freezer burn and lets you stack bags flat to maximize freezer space. If you’re doing big-batch prep, use a bin system to organize by meal type or day of the week.
♨️ Step 5: Reheat and Eat
Vacuum sealed meals are easy to reheat:
- Boil-in-bag: Drop sealed bags in simmering water—great for proteins and veggies.
- Microwave: Cut open the bag and transfer to a microwave-safe dish.
- Oven: Reheat casseroles or lasagna straight from vacuum-packed containers.
Vacuum sealing also works hand-in-hand with sous vide cooking. Seal raw, seasoned proteins, then sous vide straight from the fridge or freezer when ready.
🛍️ Bonus Tips for Meal Preppers
- Use FoodVacBags Liquid Block bags for anything with moisture—like soups or sauces—to prevent leaks.
- Pre-freeze liquids for 1–2 hours before sealing to avoid messes.
- Keep a “meal prep inventory” on your fridge so you don’t forget what you made.
Vacuum sealing takes the stress and guesswork out of meal prep. With a little planning and the right tools, you can cook once, eat all week, and never worry about spoiled food or wasted effort. Whether you’re a busy parent, a working professional, or just someone who likes having dinner ready fast, vacuum sealing helps you stay organized and stay fed.
Related Posts
The Six Rules To Follow When Buying In Bulk
Eat Fresh Garden Veggies All Winter Long
0 comments