Posted on September 02 2021

Let’s make a homemade "gel" ice pack with materials you likely already have at home.
Ice packs can be used to help minimize swelling around an injury or to just toss in your lunchbox to keep your food cool. Make as many as you need for a much lower cost than purchasing them readymade at the store.
Materials
- Water
- Rubbing Alcohol - The rubbing alcohol will prevent the water from freezing completely. The contents of your ice pack will feel more like gel. The ‘gel’ will be flexible and easy to mold to the injured area.
- Double Zipper Bags (quart size)
- Food Coloring - Not necessary but adds a little color and fun to your ice packs.
- Vacuum Seal Bags or Rolls
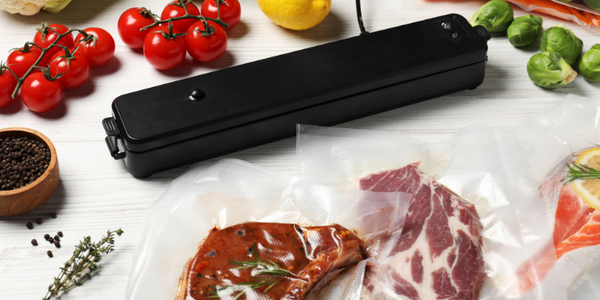
- Vacuum Sealer Machine
Directions

1. In your double zipper bag, mix 2 cups of cold water with 1 cup of rubbing alcohol.
2. Then add about 5 drops of your chosen food coloring (if you'd like to make your bags more colorful).
3. Place the bag inside of the vacuum seal bag (or roll cut to size) and vacuum seal it. I'd recommend double sealing the bag just for good measure.
4. Place the bag in the freezer. That's it. You have an ice pack (or two, or three)!


Since rubbing alcohol has about twice the alcohol as say tequila, I would be willing to try 2 cups tequila with 1 cup water, or better yet margarita mix. Then it serves a double purpose with both contact and consumption pain relief options. Just don’t make a sticky mess!
KG – You are most welcome!
Hi Sandy – For these ice packs, you place the liquid in a double zipper bag, seal that, then place that bag in a vacuum seal bag. The liquid should stay put in the double zipper bag. The vacuum seal bag is there for extra protection against puncture.
This is genius! I will absolutely be doing this. Thank you, thank you, thank you.
RE: Ice Packs, Isn’t it going to suck out the liquid? Or just seal the bag itself?